
GitLab

Configure Connector​

StackGuardian supports integration with both GitLab Cloud and GitLab Self-Managed, enabling you to deploy directly from your source code repositories. You have the freedom to use connectors for single repositories, groups of repositories but also multiple GitLab instances.

To integrate GitLab with StackGuardian, proceed with one of the following options.

Option 1: Use a Personal Access Token​

This method grants StackGuardian access to your GitLab account and all accessible projects.

Steps to Create a Personal Access Token:​
  1. Log in to GitLab.
  2. Click on your avatar and select Edit profile.
  3. Go to Access Tokens in the sidebar.
  4. Click Add New Token.
  5. Provide a name for the token.
  6. Optionally, set an expiry date (default is 365 days).
  7. Select the api scope.
  8. Click Create Personal Access Token.
  9. Copy and store the token securely. It will not be shown again.

GitLab Token Creation


Option 2: Use a Project Access Token​

This method limits StackGuardian’s access to a specific GitLab project.

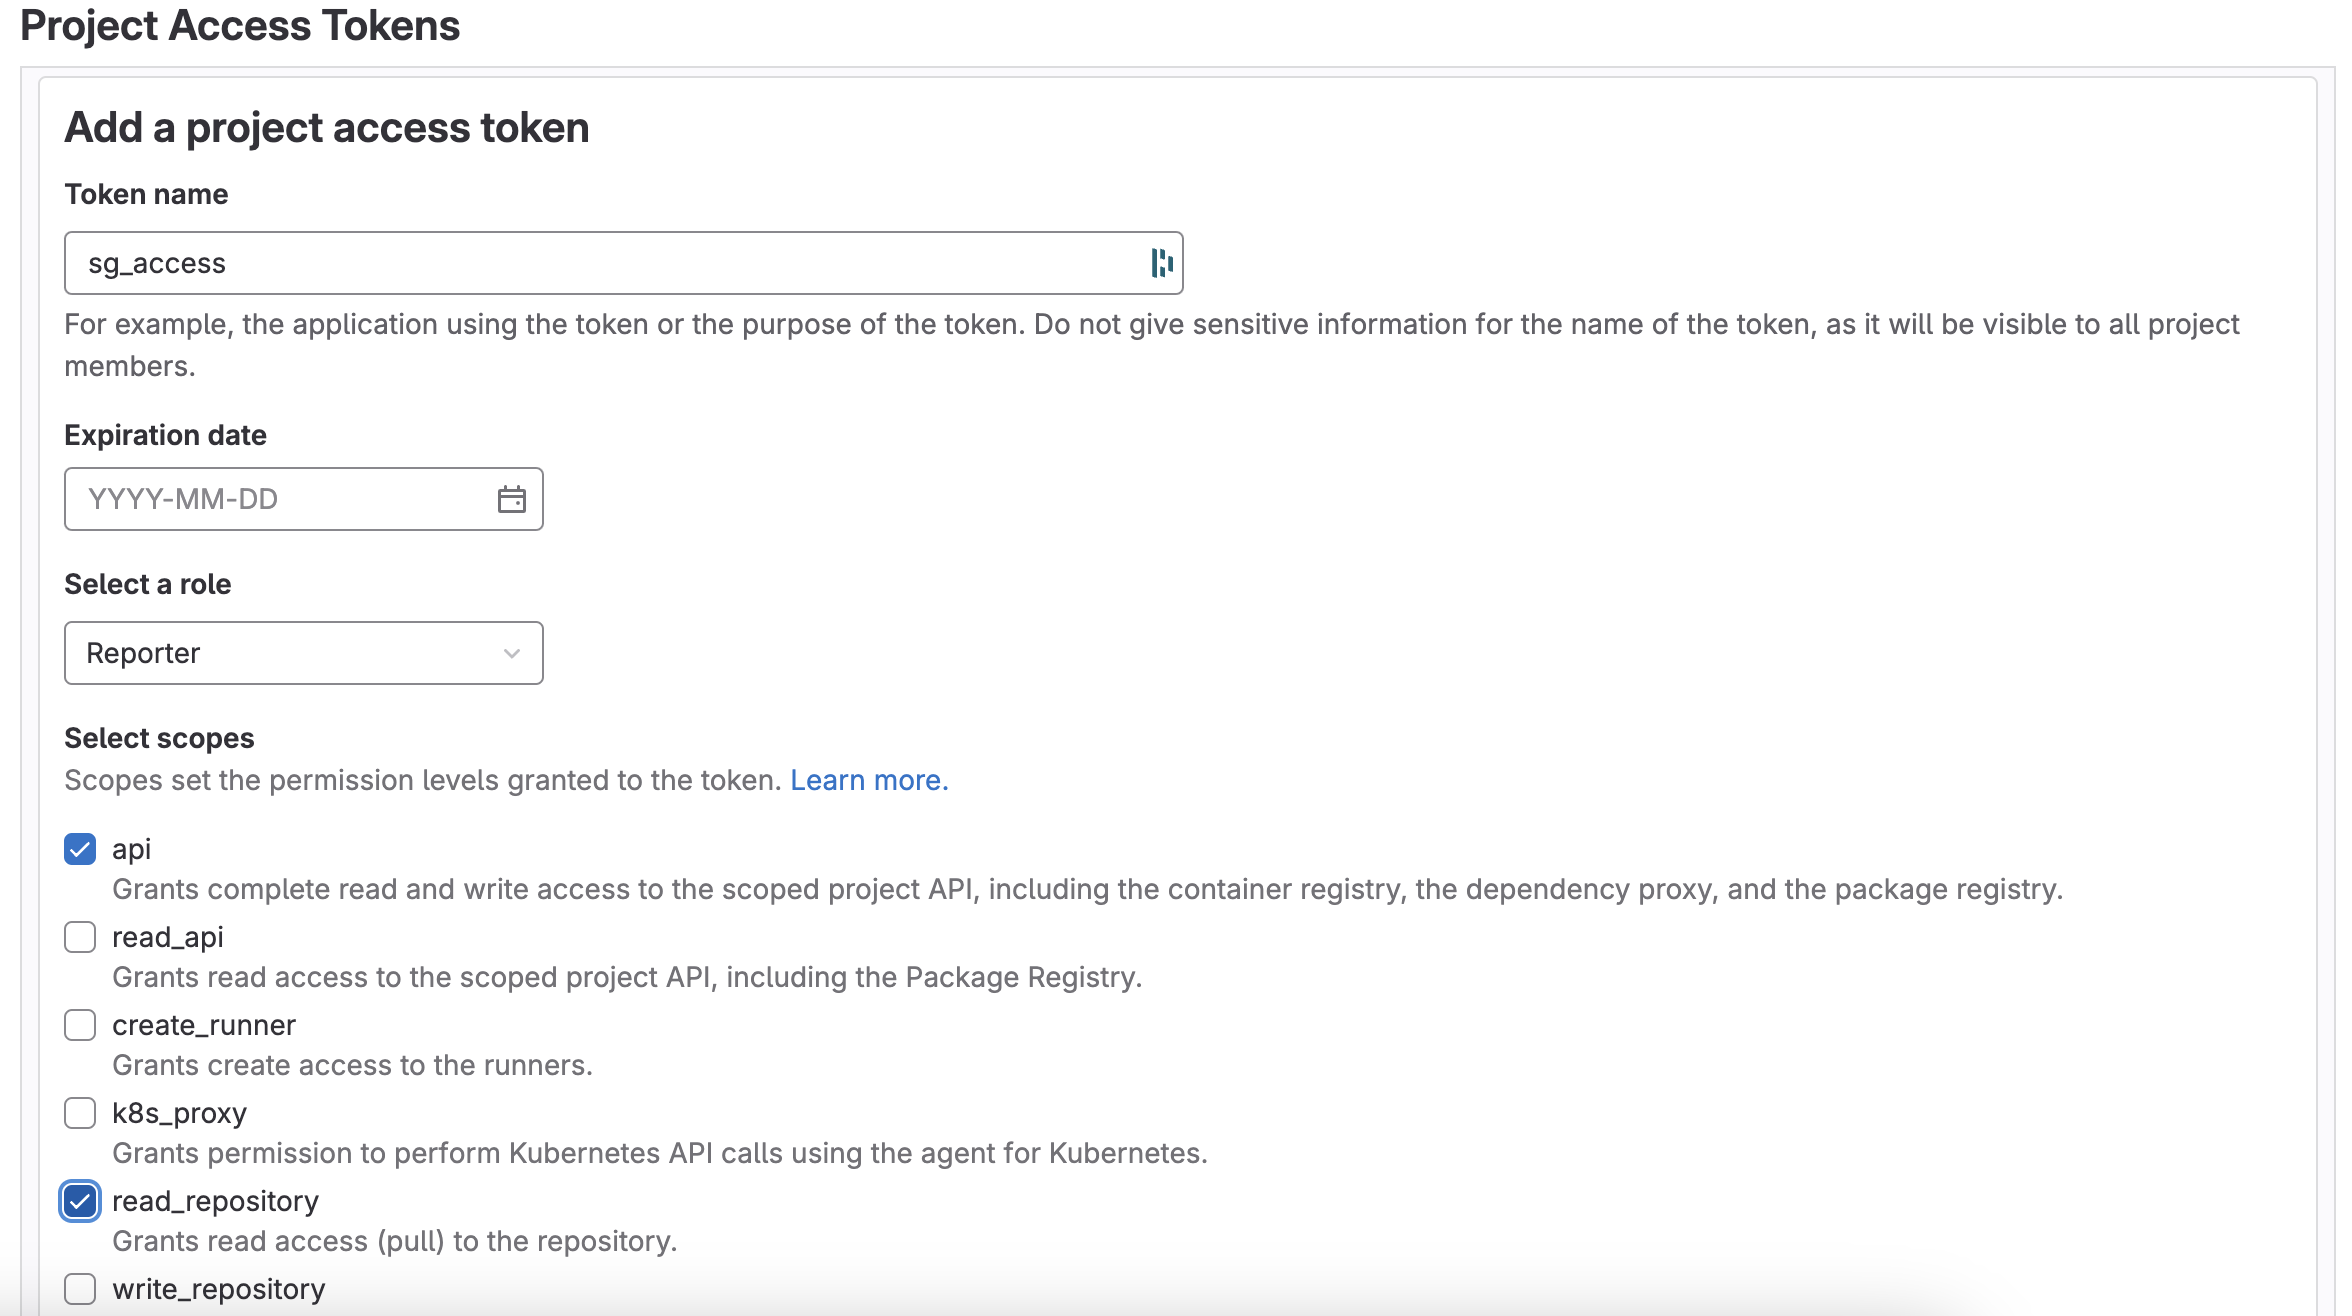
Steps to Create a Project Access Token:​
  1. Log in to GitLab.
  2. Open the desired project.
  3. Go to Settings > Access Tokens.
  4. Click Add new token.
  5. Enter a token name.
  6. Set an expiry date (up to 365 days).
  7. Choose a role: Reporter or higher.
  8. Select scopes:
    • read_repository: Allows reading the repository.
    • api: Permits API access that includes various read and write actions.
  9. Click Create project access token.
  10. Save the token securely. It won't be shown again.
note

Handle the Project Access Token with care, as it grants repository access. Project Access Token

Set Up the Connector in StackGuardian​

Once you have the token, follow these steps:

  1. Go to the Orchestrator > Connectors tab.
  2. Select Connect to GitLab.
  3. Fill in the details:
    • Connector Name: Enter a descriptive name, like MyCompanyGitLabConnector.
    • GitLab Username: GitLab username
    • Access Token Paste your previously generated Access Token here.
    • GitLab HTTP URLThe web address for GitLab access, typically https://gitlab.com for GitLab's cloud service or a custom domain for self-hosted instances.
    • GitLab API URL The endpoint for API calls, generally https://gitlab.com/api/v4 for GitLab's cloud-hosted users.
  4. Click Create.

Successful GitLab Connector

GitLab Triggers​

GitLab triggers enable automation within your workflows, such as initiating builds on commits or deploying when a tag is created.

Trigger Settings​

To configure GitLab triggers in Orchestrator, follow these steps:

  1. Go to Workflow Groups and select the desired Workflow.
  2. Within the workflow, navigate to Settings > Source and Parameters > Git Repository.
  3. Click on the Advanced Options dropdown to expand it.
  4. Access the trigger settings by selecting the Configure GitLab Triggers (Preview) option.

Trigger Options​

Adjust the following triggers to automate gitlab workflows efficiently:

Run Workflow on:​

  • All merge requests in the repository - Initiates a workflow for each new merge request.
  • A merge request to the tracked branch - Executes a workflow when a merge request targets the tracked branch.
  • A push to the tracked branch - Triggers a workflow for pushes to the tracked branch.
  • Tag creation - Starts a workflow upon the creation of a new tag.

With options to:​

  • Run Terraform plan only - Executes a Terraform plan without applying changes.
  • Require Terraform plan approval before apply - Terraform plan needs approval before execution.

After Execution (Post):​

  • Commit status back to the GitLab pipeline - Updates the GitLab pipeline with the commit status.
  • Summary as a comment to the merge request - Posts a summary comment on the merge request.

Target Branch Configuration:​

  • Specify the target branch - Set the default branch for triggers; available when "A push made to the tracked branch" is selected.

File Filters with Shell Pattern Matching​

Overview​

File filters allow you to trigger actions only when specific files or directories are changed. This is especially useful in CI/CD pipelines to avoid unnecessary builds or deployments when unrelated files are updated.

Shell pattern matching (also known as glob patterns) is used to specify which files or folders should trigger a workflow run.


Enabling File Filters​

  • Enable the Enable file filters checkbox.
  • Add one or more file trigger patterns using shell pattern syntax.


Shell Pattern Syntax​

PatternMeaning
*Matches any string within the module
?Matches any single character
[seq]Matches any character in the sequence
[!seq]Matches any character not in the sequence

Trigger Examples for Terraform Projects​

Assume you are working on this structure:

terraform/
β”œβ”€β”€ main.tf
β”œβ”€β”€ variables.tf
β”œβ”€β”€ module1/
β”‚ β”œβ”€β”€ main.tf
β”‚ └── outputs.tf
β”œβ”€β”€ module2/
β”‚ └── main.tf
└── README.md

Example 1: Match Any File in module1​

Trigger pattern:

["module1/*"]

Matches:

  • module1/main.tf
  • module1/outputs.tf

Does NOT match:

  • module2/main.tf
  • main.tf

Example 2: Match All .tf Files​

Trigger pattern:

["*.tf"]

Matches:

  • main.tf
  • variables.tf
  • module1/main.tf
  • module1/outputs.tf
  • module2/main.tf

Example 3: Match Files with Specific Prefix or Extension​

Trigger pattern:

["module2/m??n.tf"]

Matches:

  • module2/main.tf

Limitations​

  • Patterns are matched against the entire path (e.g., module1/main.tf), so relative pathing matters.

Review all settings carefully and click Save to apply your configurations.